How to Shoot a Bow and Arrow
Archery has been an integral part of human history. It serves various roles from hunting to warfare and then evolving into the competitive sport we know today. Let’s understand the equipment and mechanics on how to shoot a bow and arrow.
Traced back to the late Paleolithic period, it provided prehistoric people with a significant advantage in food acquisition and conflict.
As civilizations rose, archery became a pivotal aspect of warfare—Egyptians, Persians, archers of the Greco-Roman world, and medieval European longbowmen underscored the bow’s critical role in combat.
With peace, archery shifted towards recreation and sport, finding its place in modern Olympic Games, illustrating its enduring legacy and appeal.
Essential Equipment for Archery
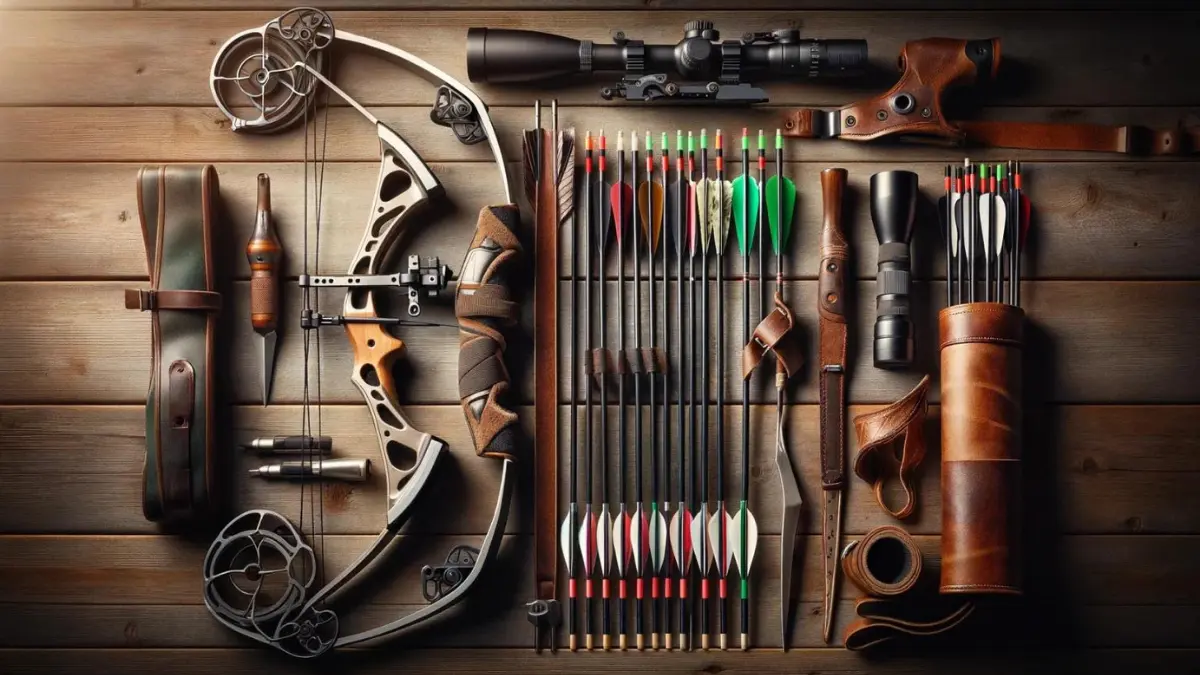
Before one begins their archery journey, recognizing the fundamental gear is crucial.
Equipment for Shooting a Bow and Arrow
- Bow: The primary instrument, bows come in various styles such as recurve, compound, and longbow.
- Arrows: The projectiles shot from the bow, arrows vary in length, material, and tip type for different uses.
- String: Connects the bow’s ends, transferring energy to the arrow.
- Armguard: Protects the shooter’s forearm from string slap.
- Finger Tab/Glove: Shields fingers from pressure and abrasion when drawing the string.
- Quiver: A container to hold arrows safely and conveniently.
- Sight: An optional aid to help archers aim more accurately.
- Stabilizer: Also optional, it counterbalances the bow for better shot stability.
Understanding these essentials sets the foundation for successful archery practice.
The Anatomy of a Bow
Understanding your bow is essential for mastery in archery.
Getting Familiar with Your Equipment
Here’s a breakdown of its main components:
- Riser: The central part of the bow, serving as the foundation to which all other parts are attached.
- Limbs: Attached to the top and bottom of the riser, they flex to store energy as the bow is drawn.
- Bowstring: Connects the limb tips, transferring energy to the arrow upon release.
- Nocking point: Marks where the arrow should be consistently nocked onto the string.
- Arrow rest: Located on the riser, this supports the arrow until it is shot.
- Sight: An optional device on the riser that helps aim the arrow.
- Grip: The part of the riser you hold; proper grip is crucial for accuracy.
- Stabilizer: An optional accessory that improves balance and absorbs vibrations.
Each part plays a role in making accurate and consistent shots. Familiarity with this equipment will pave the way for improvement.
Choosing the Right Arrow
Selecting the proper arrow is crucial for both safety and accuracy. It requires understanding the importance of length, material, and specific factors that affect performance.
Length, Material, and Tips
- Length: Measure the archer’s draw length first. The arrow should be slightly longer than this measurement to avoid it slipping off the rest.
- Material: Arrows can be made from wood, aluminum, carbon, or a mix. Carbon arrows are lightweight and durable, popular among experienced archers for their consistent flight.
- Tips:
- Spine: Consider the arrow’s stiffness (spine) correlating to bow strength. Inappropriate stiffness can lead to inaccurate shots.
- Weight: Heavier arrows provide more impact power, while lighter ones are faster.
- Fletching: The fin-like vanes affect flight. Larger fletching stabilizes arrows but adds drag; smaller ones are less stable but faster.
Choose arrows based on these factors and your specific archery discipline for best results.
Proper Stance When Shooting a Bow and Arrow

Developing a consistent and proper stance is foundational to archery success.
An archer’s stance provides the groundwork for balance, stability, and precision.
It allows the body to function effectively, making the draw, aim, and release phases both fluid and repeatable.
A well-executed stance aligns the feet shoulder-width apart, with the body perpendicular to the target and weight evenly distributed.
This position enhances focus, minimizes muscular strain, and reduces unwanted movement, leading to greater accuracy and a more enjoyable archery experience.
Mastering the Art of Nocking the Arrow
To nock an arrow means to place it on the bowstring in preparation for shooting.
This vital step requires attention to detail and finesse to ensure accuracy and safety.
Steps of Nocking an Arrow
- Locate the Nock Point: Identify the bowstring’s nock point, typically marked by small beads or a wrap.
- Position the Arrow: Hold the arrow shaft near the nock end and slide the nock onto the string under the nock point.
- Secure the Nock: The arrow should click into place between the bowstring strands or on a string nocking point.
- Orientation: Align the arrow fletching correctly; usually, one vane or feather should face away from the bow to prevent flight interference.
- Check and Adjust: Ensure the arrow sits at a 90-degree angle to the bowstring. Any misalignment can result in reduced accuracy or a misfire.
Mastering nocking quickly and accurately is fundamental to a successful archery technique.
Techniques for Drawing the Bow
To shoot with power and precision, one must master the technique of drawing the bow effectively.
Here are key steps:
- Stand perpendicular to your target with feet shoulder-width apart.
- Grip the bow handle firmly with your non-dominant hand.
- Nock the arrow and position your fingers correctly on the bowstring—usually with the index finger above the arrow and the middle and ring fingers below.
- Raise the bow to shoulder height, aligning the arrow with your dominant eye.
- Pull the bowstring back in a smooth motion to the anchor point, which is typically the corner of the mouth or the chin.
- Engage back muscles rather than solely relying on arm strength; this promotes steadiness and control.
- Keep your breathing even and your focus steady as you draw.
- Hold your position for a moment to ensure proper alignment and tension.
- When ready, execute a controlled and consistent release to propel the arrow toward the target.
Learn more about: Bow Draw Weight in Archery – Part 1 and Bow Draw Weight in Archery – Part 2
How to Improve Accuracy and Focus

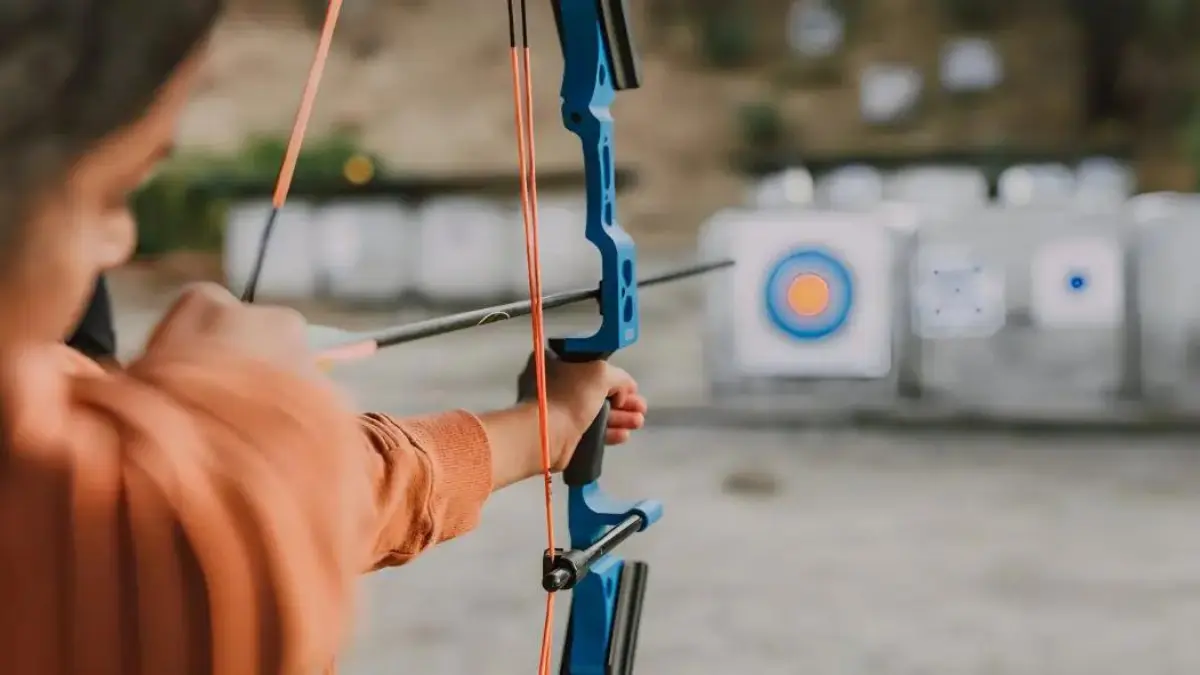
Improving accuracy and focus in archery is crucial for hitting the target consistently.
Here are essential techniques to help enhance your aiming:
- Align your body: Position your feet shoulder-width apart, squarely face the target, and ensure your shoulders are in line with the arrow.
- Anchor consistently: Choose a comfortable anchor point on your face where the string hand comes to rest every time for repeatability.
- Focus on the front sight: Keep your dominant eye on the front sight or arrow tip, blurring the target slightly but keeping it central.
- Breath control: Practice taking deep breaths before drawing; exhale slowly upon drawing and hold your breath briefly as you release.
- Relax your grip: Don’t clench the bow; a relaxed grip minimizes hand torque and improves accuracy.
- Visualize the shot: Mentally rehearse the shot before drawing, from the draw to the follow-through.
- Routine practice: Regular, disciplined practice enhances muscle memory and fine-tunes your focus over time.
Incorporating these techniques with consistent practice will lead to better accuracy and sharper focus in your shooting.
Releasing the Arrow: Timing and Release Methods
Releasing the arrow is a critical step that determines the accuracy of a shot.
Proper timing and technique are essential:
- Achieve a steady aim before thinking about release.
- Keep your drawing hand’s fingers relaxed to facilitate a smooth release.
- Use a mechanical release aid or develop a clean finger release method.
- Moment of release should be a surprise to prevent anticipation and tension.
- Maintain the follow-through, keeping the bow hand in position until the arrow hits the target.
- Consistent practice in release technique will improve accuracy and confidence for the archer.
Follow-Through Fundamentals for Consistent Shooting
After releasing the arrow, maintain your posture and continue to aim until the arrow hits the target.
This practice, known as follow-through, is crucial for achieving consistency in shooting.
Proper Follow-Through
Here are key points to ensure proper follow-through:
- Keep your drawing hand near your face, allowing it to move back in a straight line along your neck once the arrow is released.
- Remain still, watching the arrow’s flight to the target without dropping your bow arm. This avoids introducing unnecessary movement that can alter the arrow’s path.
- Focus on your breathing; exhale smoothly after the shot to maintain relaxation and control.
- Resist the urge to ‘peek’ at where the arrow will land. Trust in your form and the shot process.
Follow-through is a critical step in consolidating form and technique, contributing significantly to a shooter’s accuracy and consistency.
Safety First: Archery Range Rules and Etiquette
Before nocking an arrow, archers must familiarize themselves with safety protocols and proper conduct to ensure a secure environment for all.
Some fundamental range rules include:
- Always point arrows downrange: Never aim your bow at anything other than the designated targets to prevent accidents.
- Wait for the all-clear: Only go downrange to retrieve arrows after a clear signal has been given that all shooting has stopped.
- Maintain equipment: Regularly inspect your bow and arrows for damage to ensure they function safely.
- Listen to range officers: Adhere to instructions given by the range safety officers or instructors. Their directives are for everyone’s protection.
In terms of etiquette:
- Take turns: Allow others time on the shooting line and be mindful of sharing the range.
- Clean up: Pick up any trash, including damaged arrows or packaging, to keep the area clean.
- Offer assistance and be courteous: Helping newcomers or those in need fosters a supportive and friendly community.
Learn more about: Essential Archery Safety Rules to Know
Practice Drills for How to Shoot a Bow and Arrow
To refine your archery technique, integrate these practice drills into your training routine:
- Blank Bale Shooting: Stand close to a blank target and focus on form without aiming.
- Grouping Drills: Shoot multiple arrows at a target to improve consistency.
- Distance Practice: Vary your shooting distance to increase adaptability.
- Endurance Rounds: Shoot a high number of arrows in one session to build stamina.
- Pressure Simulation: Create a competition-like environment to handle stress.
- Breathing Exercises: Use rhythmic breathing patterns to steady your aim.
- Slow Motion Training: Perform your shooting cycle slowly to identify form flaws.
- Blind Bale: Close your eyes momentarily before releasing the arrow to enhance feel.
Repeated and deliberate practice using these drills will sharpen technique and accuracy.
Troubleshooting Common Issues in Archery
When encountering issues with accuracy in archery, one must systematically address each potential problem.
Here are common challenges and their fixes:
- Poor Grouping: Check your stance for consistency, ensure your grip is not too tight, and work on a clean release.
- Arrow Drift: Wind can affect arrow flight. Adjust your aim or wait for calmer conditions.
- Inconsistent Draw Length: Use a mechanical release aid or draw check indicator to ensure uniformity.
- High or Low Shots: This could be due to incorrect nocking point placement. Verify it aligns properly with the bow’s rest.
- Left or Right Shots: Ensure the bow is vertically straight when shooting and that arrows are properly spined for your bow’s draw weight.
Regular practice and mindful adjustments are key to overcoming these common issues.
Maintaining Your Equipment
- Regularly inspect your bow for signs of wear or damage; look for cracks in the limbs.
- Store your bow horizontally to avoid warping; use a bow rack or a padded case.
- Keep the bowstring waxed to protect it from moisture and prevent fraying.
- Loosen the bowstring slightly after each use if you are using a traditional bow.
- Always use the correct arrows for your bow type; mismatched equipment can damage your bow.
- Replace damaged fletchings and nocks to ensure arrows fly true and avoid harming your bow.
- Prevent rust by wiping down metal parts with a lightly oiled cloth, especially in damp conditions.
- Only dry fire with a proper bowstring release device to prevent damage.
- Use a bow square to check the brace height regularly, adjusting as necessary for optimal performance.
- When not in use, protect your bow from extreme temperatures and direct sunlight to prevent material deterioration.
Learn more about: Archery Maintenance and Care of Your Bow and Arrow
Next Steps after Mastering the Basics
Once an archer has honed their foundational skills, they must explore intermediate techniques to further their proficiency.
Progressing requires:
- Strength training to enhance stability and control.
- Studying advanced shooting techniques, like the anchor point refinement.
- Learning about bow tuning for optimal performance.
- Participating in archery competitions to gain experience.
- Seeking feedback from experienced archers or coaches.
- Practicing mental focus exercises for concentration improvement.
- Engaging with the archery community for networking and tips.
- Setting personal goals and tracking progress systematically.
- Experimenting with different bow types and archery styles.
- Keeping updated with archery literature and online resources for continuous learning.
Evolving in archery is a journey of personal growth and skill enhancement.